
People throughout the world write regular blogs for a number of reasons. Some people enjoy writing, and find that a digital blog is the simplest way to share their thoughts with the world. Other people want to share the things that they are doing – such as travelling or living abroad – with their friends and family. Regardless of your aims, WordPress is undoubtedly the most popular blog and website creation platform.
Starting your first WordPress blog – and indeed, building your first simple website – can be quite difficult, especially if you have limited training and web development knowledge. However, it actually isn’t that hard to do, as this simple step by step guide will show. To create your first WordPress blog, you need to:
- Find and Register a Domain Name:
First, you need to decide what you want your blog to be called. Once you have chosen a name, you need to choose and register a domain name. This is relatively simple, and can usually be done at the click of a button. Most hosting providers (more on this in a minute) allow you to choose and register your domain during the website creation process, so let’s move onto the next step.
- Find a Hosting Provider:
Once you have decided on a name for your new blog, you need to find a hosting provider. What is hosting you ask? Basically, a hosting provider gives you the server space and processing power that you need to run your website. Basic hosting doesn’t need to cost more than a couple of dollars per month, but it is important to consider the following when choosing your hosting provider:
- Their reputation, as a poor quality host can come with a range of problems which will make our blog suffer.
- How much server space you are allocated, as less server space means that your blog will be able to cope with less visitors. If you plan on attracting a large audience, you should probably go for a premium hosting plan.
- Any extras they offer. Some hosting providers offer additional features like regular website backup, website downtime monitoring or, as mentioned above, domain registration.
- Install WordPress On Your Website:
Once you have chosen your hosting provider, you will need to install WordPress on your new domain. Many hosting providers offer simple one click installation from your account dashboard. Click on this, follow the prompts, and you will be well on the way to online success.
- Customise Your Site and Start Creating Content!
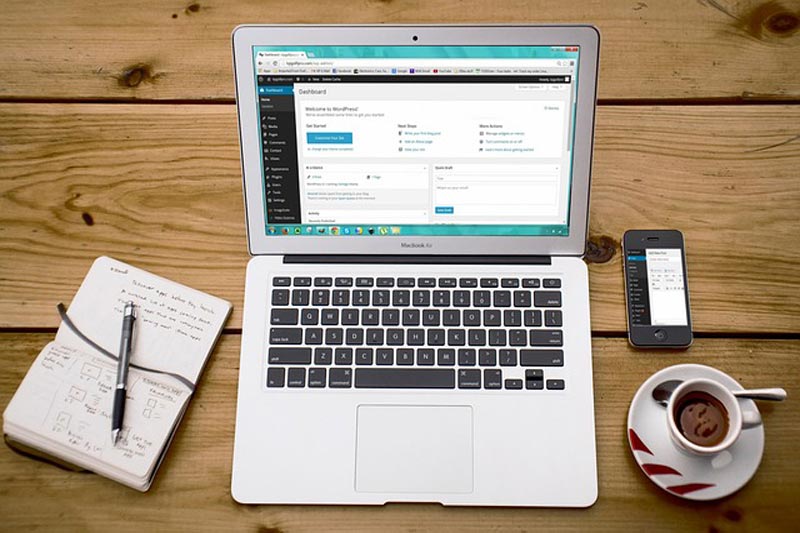
Once WordPress is installed, visit your website dashboard and start building your site. Start with a basic theme, install a few plugins, and customise colours and other features to your liking. This may take a while if you have never built a website before, but the best way to learn something is by doing it.
Once you have your new blog site looking the way you want it to, it is time to publish it and start creating content. Since it is your website that you own, you can basically add anything that you want, so get out there, let your creative juices flow and have fun!